Try out new features
- The new “Risk analysis” module automatically assesses the “risk level” for every user (based on the security server events)

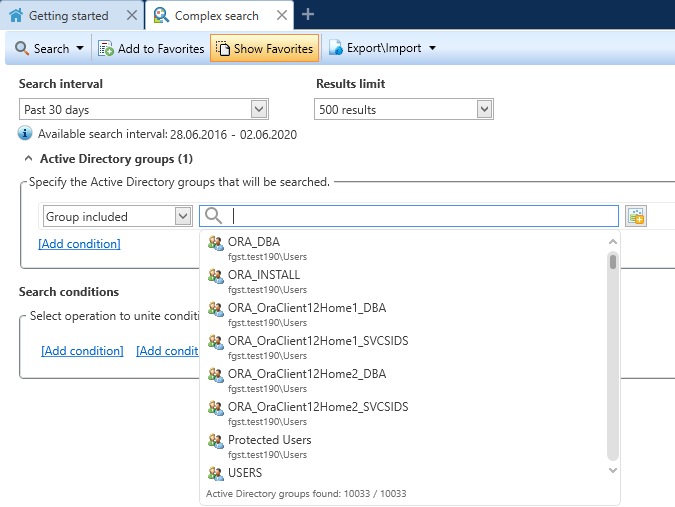
- Now you can search for information by Active Directory groups
To perform the search go to Complex Search, unfold Active Directory groups, and push the button Add condition. After that, configure preferred settings.
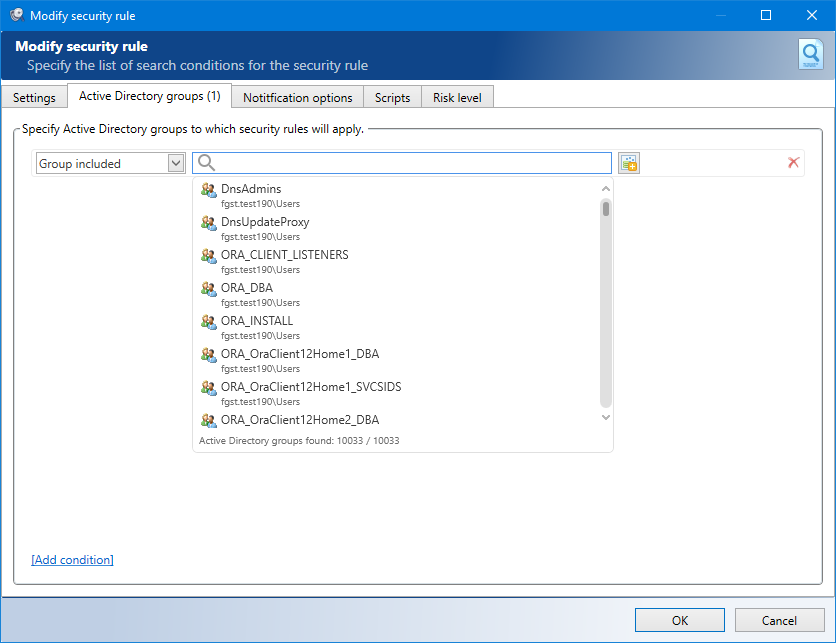
- Apply security policies to Active Directory groups
Go to Security Policies, then when creating new or modifying the existing policy choose the Active Directory tab and configure preferred settings there.
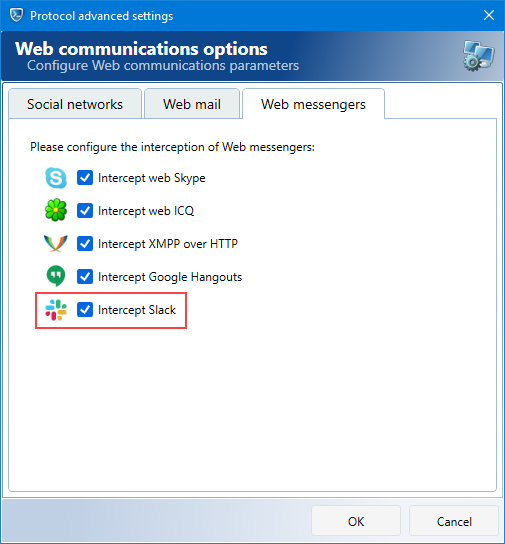
- The Slack messenger control
To take control over Slack, choose the Agents component of the Administrator console. Then from the Agents’ settings tab choose the Control of Network Traffic tab. There you find Protocol advanced settings where you choose the Web messengers tab and there you should check Intercept Slack.
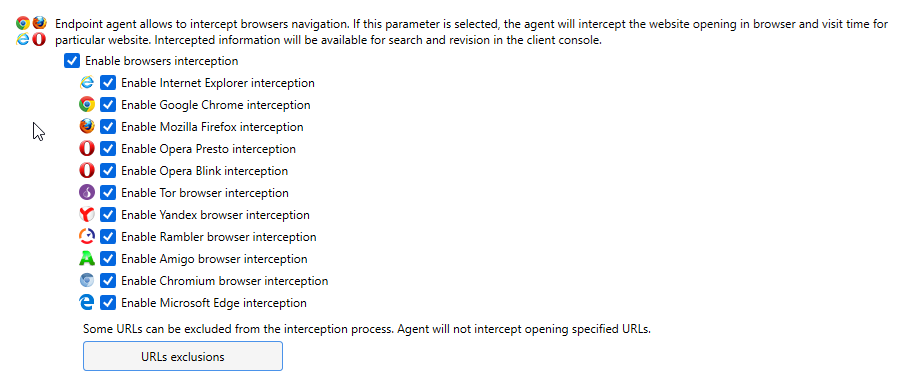
- The system is now integrated with Yandex browser
To enable interception choose the Agents component of the Administrator console. Find there the Browser Interception tab and check Enable Yandex browser interception.
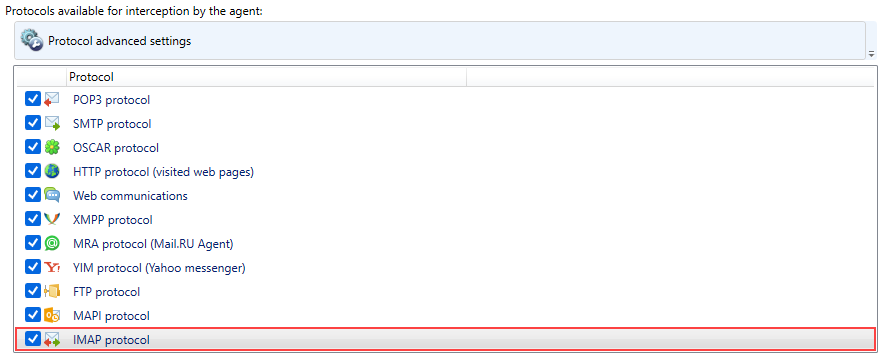
- Emails sent via IMAP protocol are now intercepted
To enable interception choose the Agents component of the Administrator console. Then from the Agents’ settings tab choose the Control of Network Traffic tab. There you should check IMAP protocol in the list of protocols.
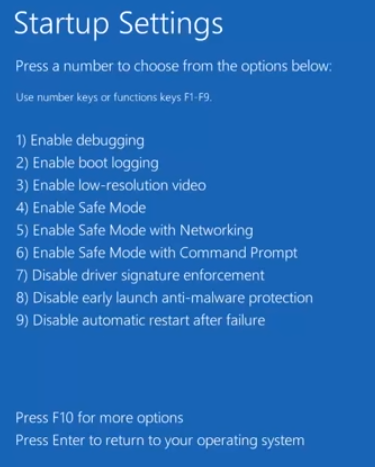
- SecureTower agents can now work in Windows safe mode
If Windows was run in the safe mode either intentionally or as a result of a system failure there had been existing a possibility to make changes in the security system of a local computer. But now a DLP system’s agent continues to work if Windows boots in the safe mode.
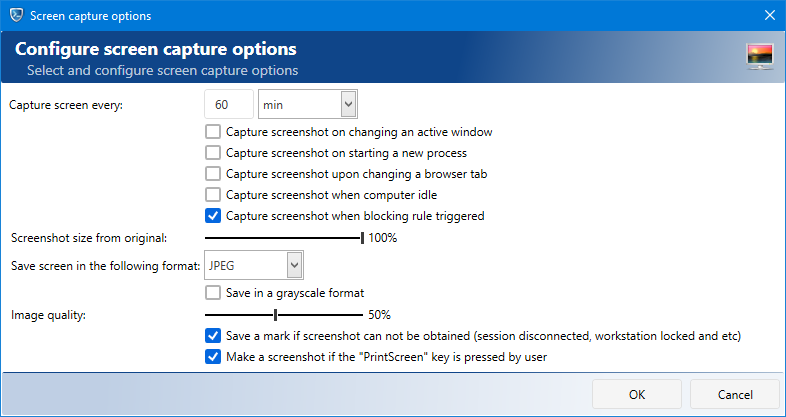
- SecureTower takes screenshots when blocking forbidden operations
To activate the regime, choose the Agents component of the Administrator console. Then choose the Desktop activity tab from the Agents’ settings tab and open the settings of the screen capture.
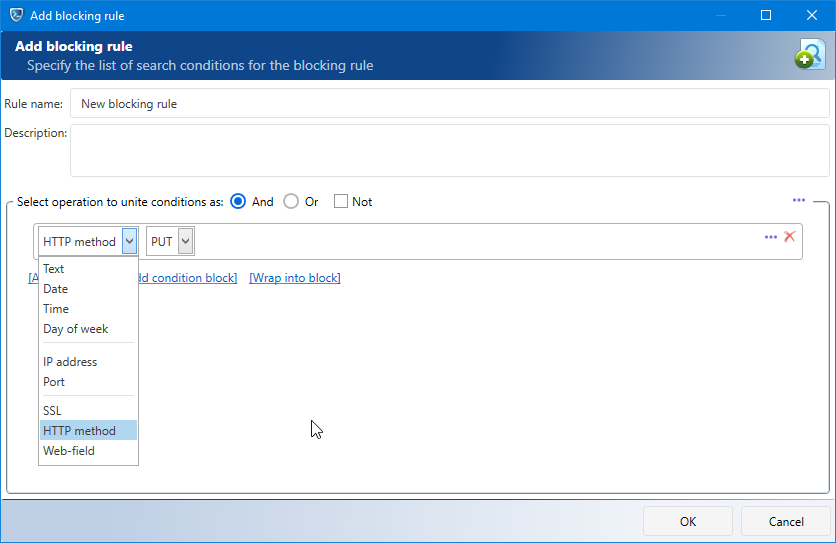
- HTTP protocol controlling module now is capable of intercepting, blocking, and filtering PUT-requests
To enable the feature, go to the Agents component of the Administrator console. Then find the Data blocking tab in the Agents’ setting tab and add an HTTP blocking rule there. Push the button Add condition in the opened window and configure settings as you wish.
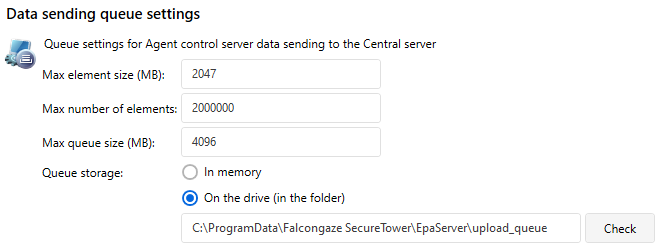
- Earlier, the system could store the queue of the data coming from the agents in RAM only. Now you can choose to store it in HDD to prevent it from losing in case of power supply failure.
To enable the option, open the Agents component in the Administrator console and choose the Setting of server and data storage tab there. Edit the Data sending queue settings as shown.
You can use “ * ” sign as a mask when adding exclusions for auto-assignment.
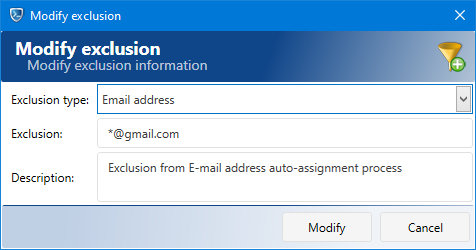
To add exclusions follow these steps: in the Agents component of Administrator console go to the Endpoint agents options tab; there push the button Auto-assignment advanced settings and push the button Exclusions in the opened window.
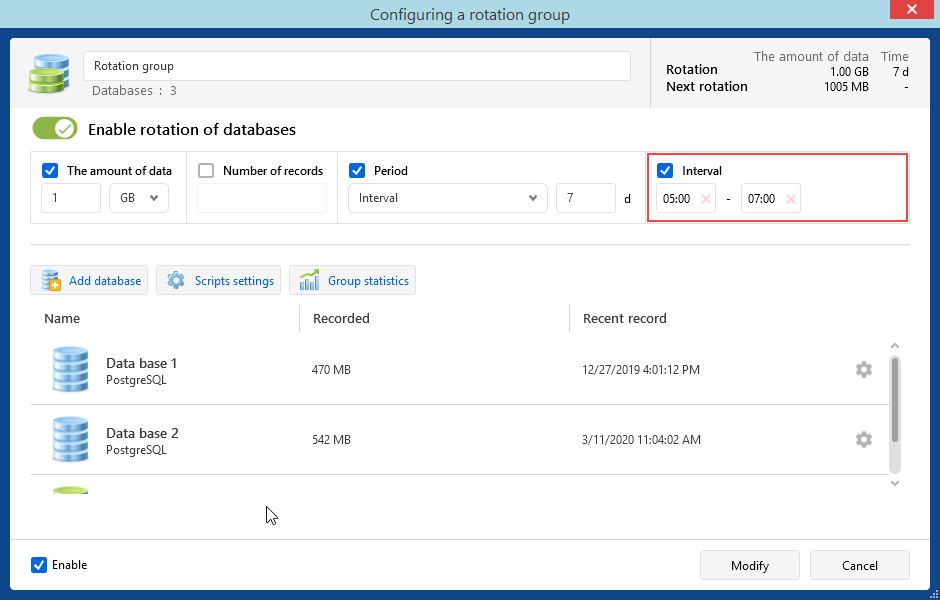
- You can set up the time interval in which the rotation will perform
For this, go to the Central Server component of the Administrator console and open Rotation group setting. After that, check Interval and set up time limits.
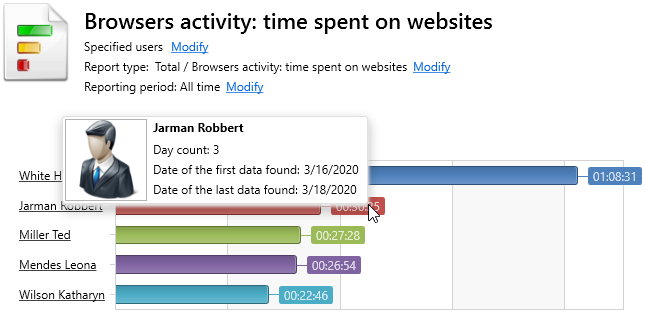
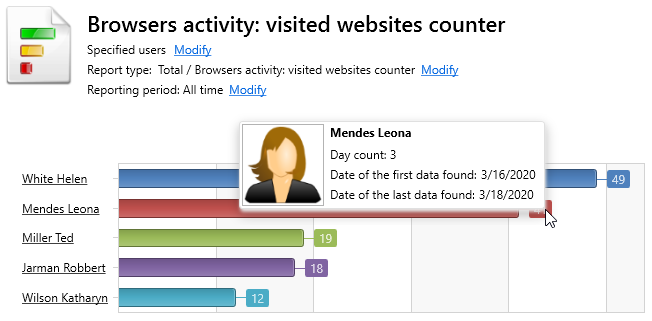
- Browser usage report is added
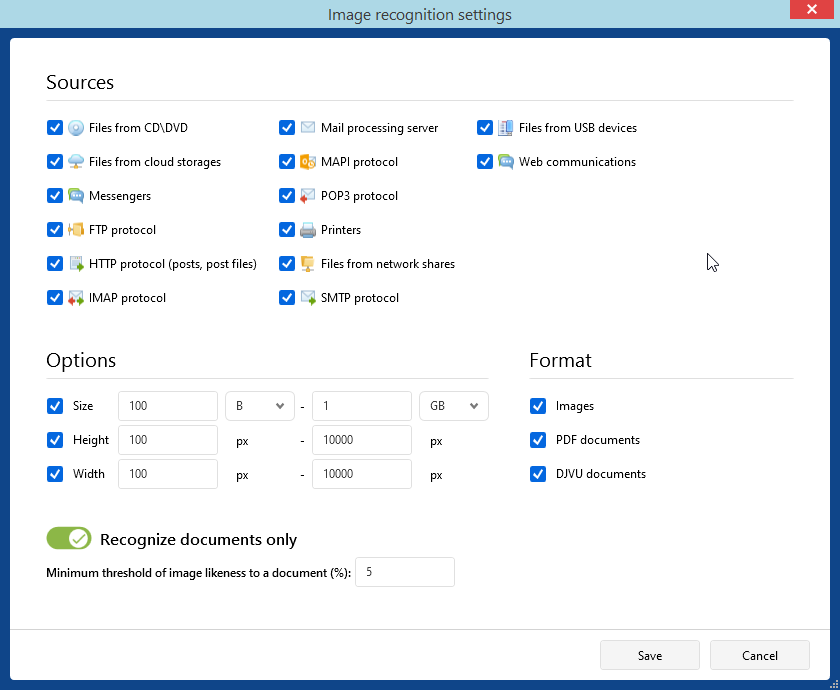
- Set up the filter to recognize images according to their size, collection, the grade of similarity to the document, and to the image file
To configure the setting go to the Central Server component of the Administration console find the Recognition tab there and click on the cog icon. In the opened window, configure settings as you wish.
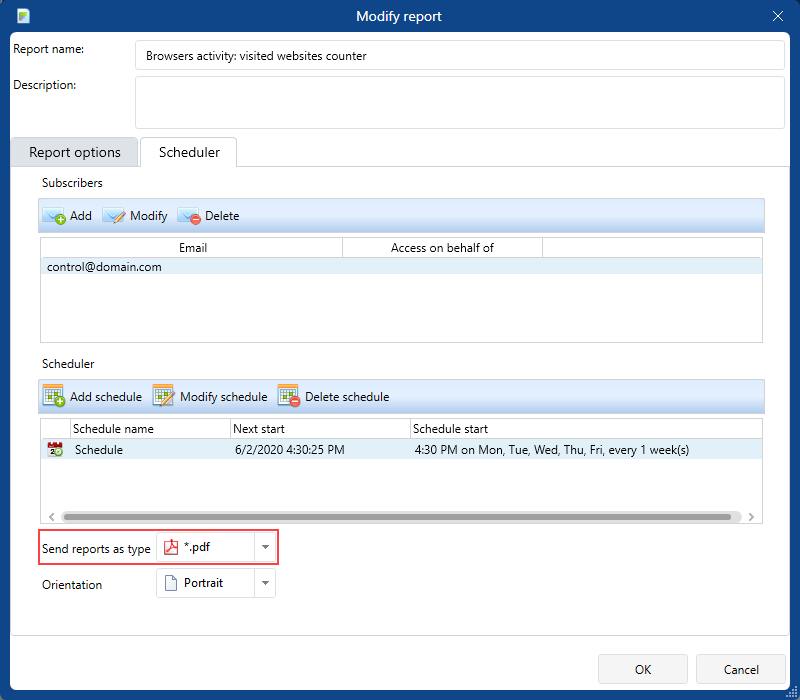
- You can choose the file type for the report to send it via email
To choose the file format when creating a new report or modifying an existing, go to the Planner tab and choose the file extension from the drop-down menu. The report will be sent in this format.
- You can set up the number of streams of the stamp recognition (earlier, the system was only able to maintain one stream of recognition)
To set up this parameter go the Image Recognition component of the Administrator console and open Advanced settings there. In the opened window you can write in the preferred number of streams in the field as shown.
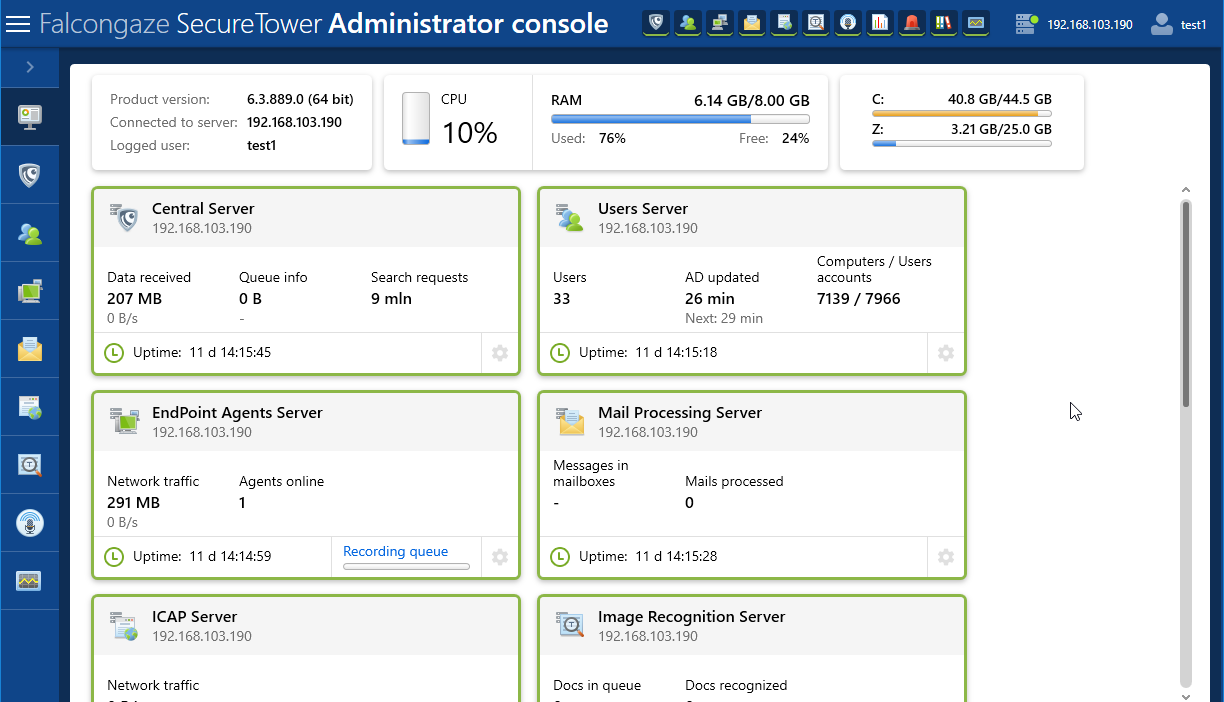
- The interfaces of the Administrator console and the User console were improved
The console interface was partially reworked.
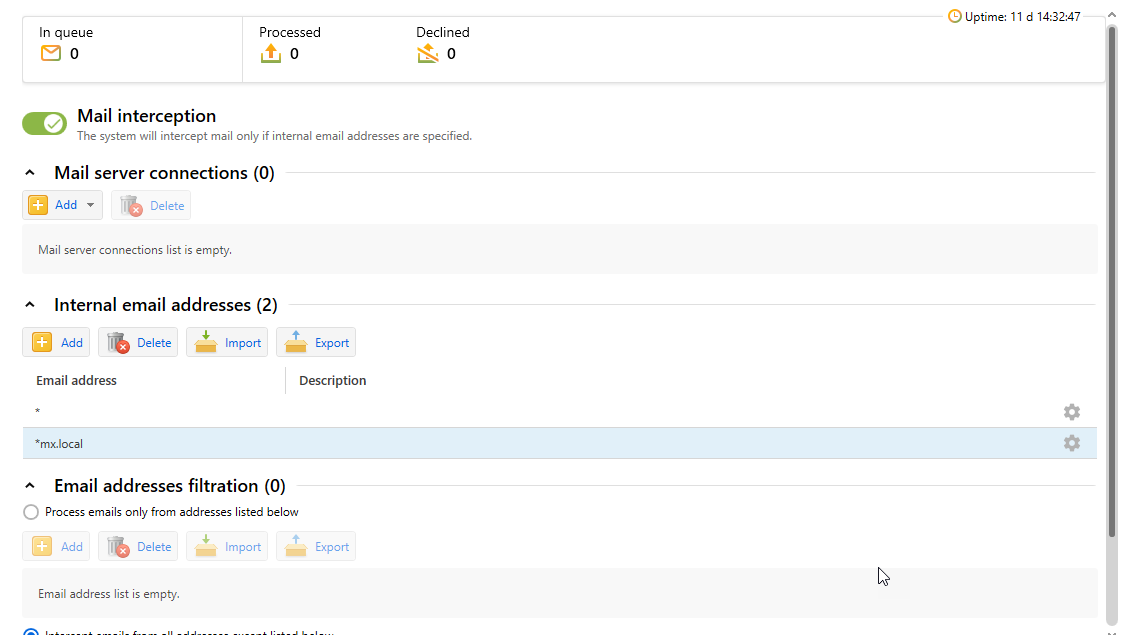
The Mail Processing component’s interface was improved.
The Client console’s interface was partially reworked.
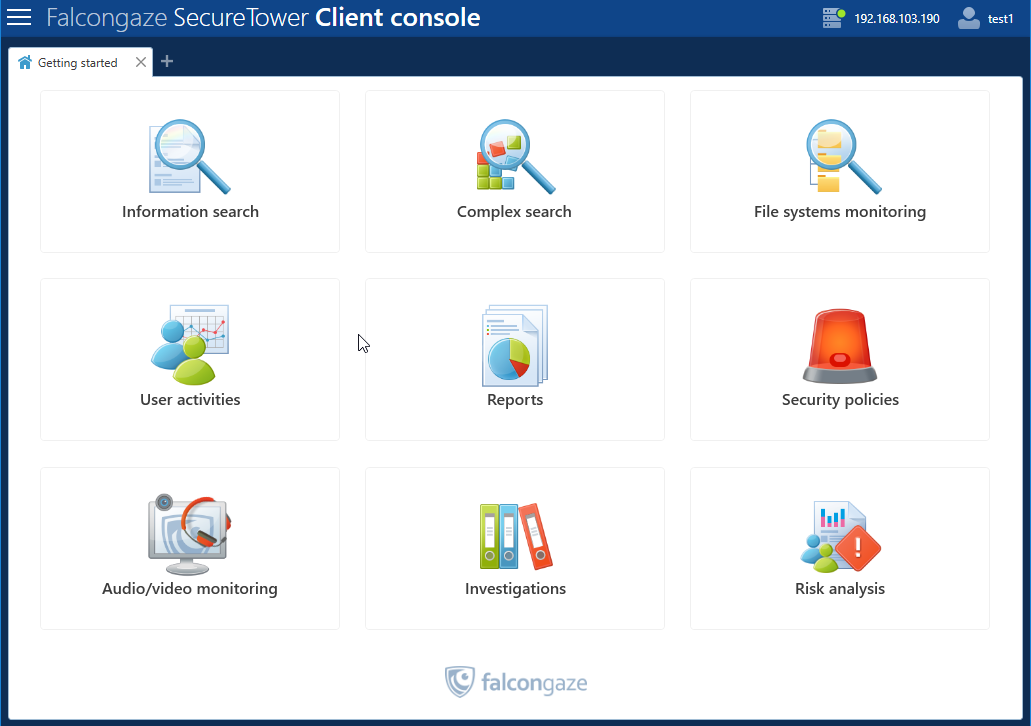
In the tab panel of the Client console, the “+” operator has been added. Press it to open the drop-down menu containing all console’s modules available.
